Let’s Make: Vintagey Bleached + Sparkly Bottle Brush Trees
Oooo, sparkly bleached bottle brush trees are calling my name again.
The temps have finally shifted and holiday crafts are tugging at my hem.
Every year that I take out my cardboard house village…
I remind myself to show you a bleach technique I used on my bottle brush trees.
And every year, time just flashes by.
So, I decided to share this tutorial again.
And, because I am about to make more of these myself, I am resharing.
You may have heard of or seen this before.
Here is my way to bleach bottle brush trees for a fun vintage effect.
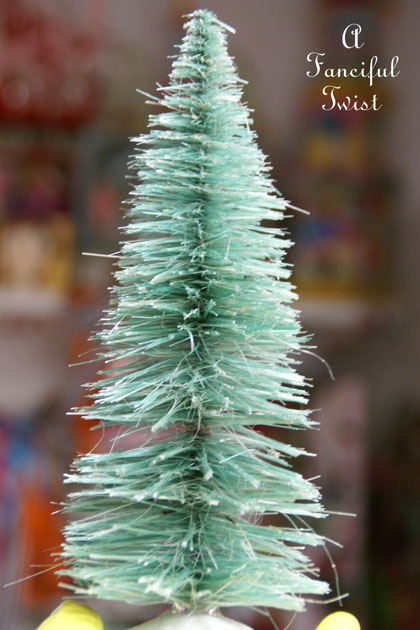
I am partial to the vanilla and mint tones, so I don’t further dye my trees after bleaching them.
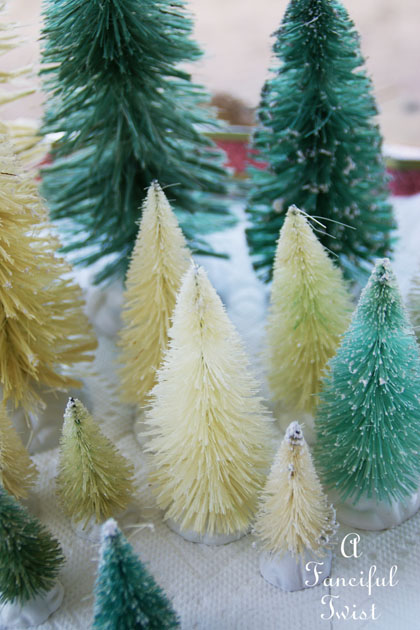
These are some of the tones you can achieve with bleach alone.
Super beyond fun, right?
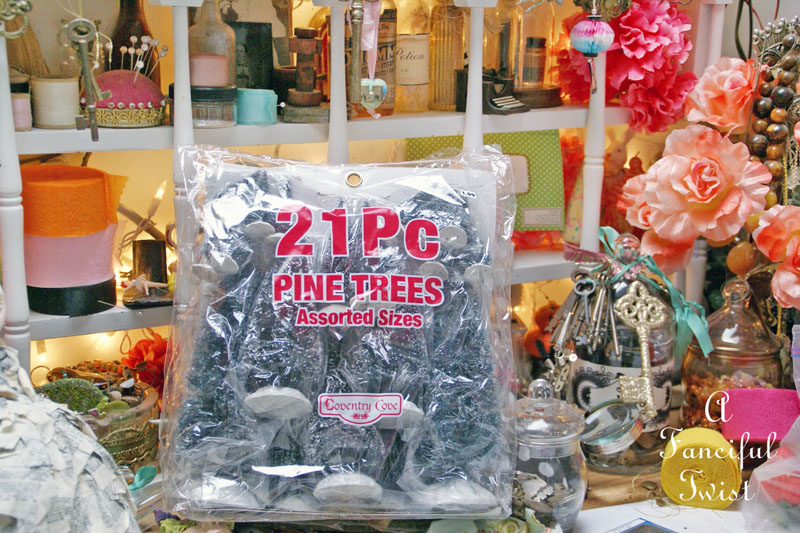
All you need are some bottle brush trees, bleach, bucket/bowl and hot water.
I got this pack at a craft store.
(I spied them online here for $9.44 for the package , oh my!!)
I have 2 different methods for bleaching my trees.
Why?
Because one is slow and lets you achieve different shades over a 40 minute time period.
The other is instant, but gives you less control over going from dark green to vanilla.
So, let’s start with the washing machine slow version.
First Method.
What I do is fill my washing machine with large load hot water.
You can do this in a big sink or large bucket too.
I don’t allow the washing machine to run, I just use it as a hot water bath.
Newer machines don’t let you do this, so you can use a large bucket with hot water.
(I hate newer machines so I take extra care of mine, I like being able to turn on the water when the lid is open 🙂
Then I put in 2.5 – 3 cups of bleach.
(make sure the area is well ventilated, and you wear gloves – you can open a window too)
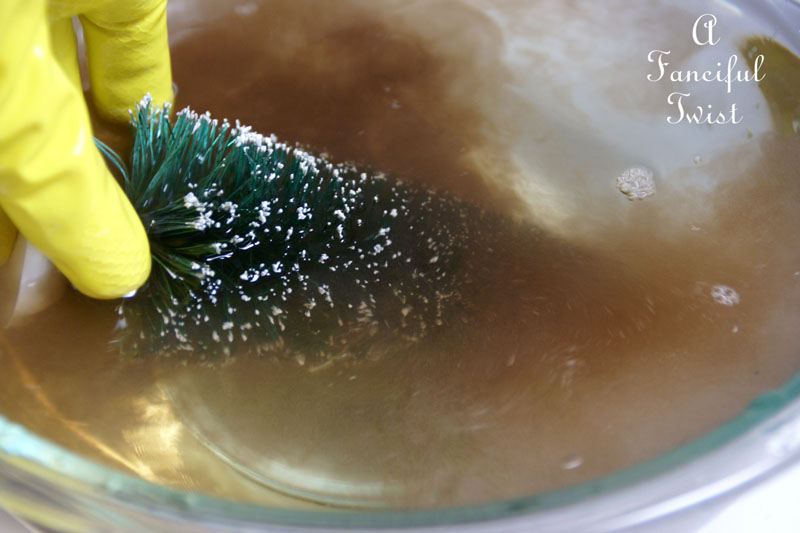
I then pop a bunch of bottle brush trees into the water and use tongs or a ladle to swish them around and check them.
(the water will turn quite murky)
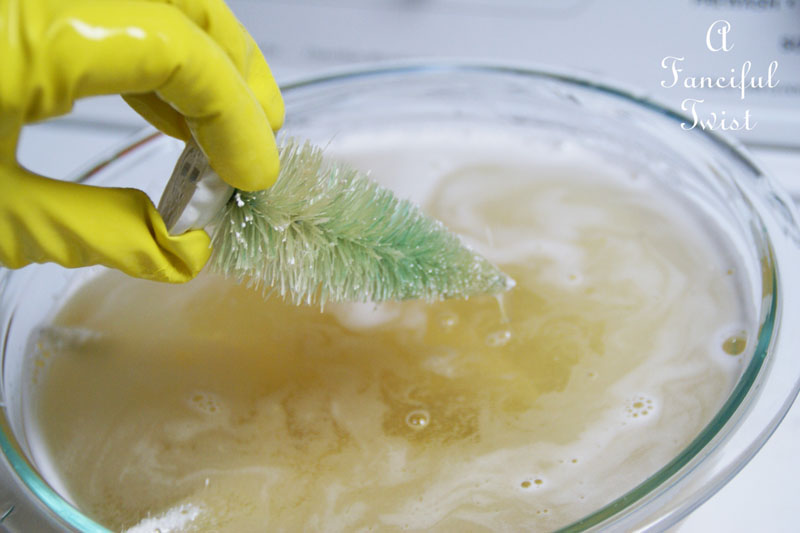
Over the course of 20-40 minutes (sometimes sooner), the trees will begin to change.
This is the method I use to achieve mint tones.
The slower they change, the more control you have when wanting those minty colors.
The longer you leave the trees in, the lighter they will get, until they reach the vanilla stage.
When you achieve the desired color, rinse under cold water, and let them dry thoroughly.
Now lets try the second method.
This second method is super quick, but uses more bleach.
So, you need a well ventilated area (best to go outside), and gloves.
Even a mask if you’d like.
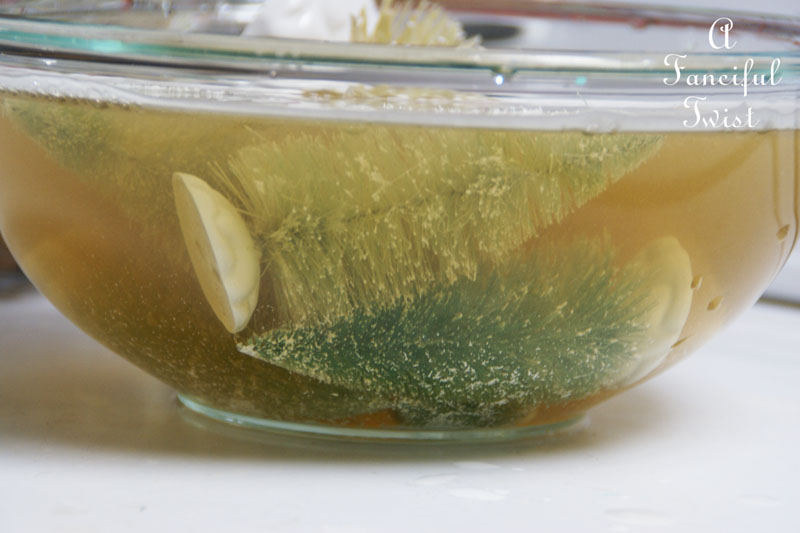
Take a large bowl and put in half hot water, half bleach.
50/50 ratio.
Sometimes I do 60% water 40% bleach.
You can use less bleach to test.
Point is…
The more bleach, the faster the trees will fade.
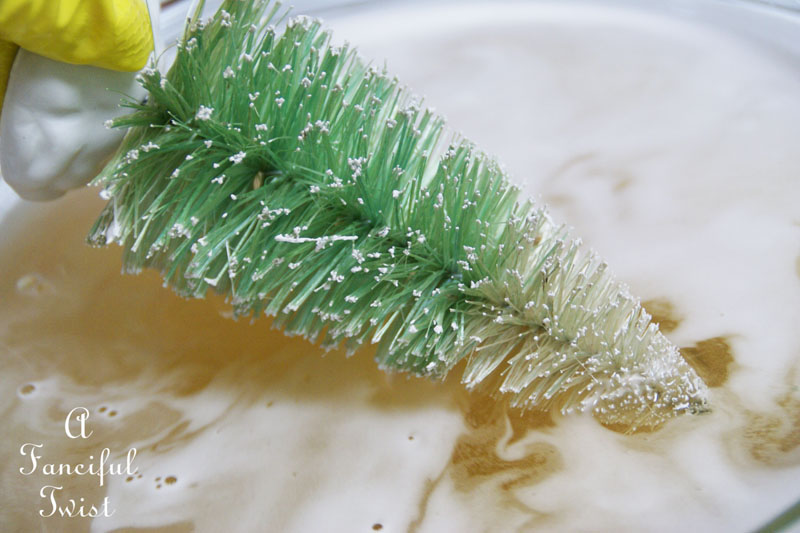
Pop a few in a bowl, and they will change in the first 30 seconds or less.
The second the tree hits the heavy bleach water, you will see the color come off.
In seconds they will look like this.
The minty stage, using this method, is fleeting.
And quickly, you reach vanilla.
Once you try it, you will find your own rhythm for achieving your desired tones.
Then rinse under clean cold water.
I use the studio sink for this.
It’s quite a lot of fun actually.
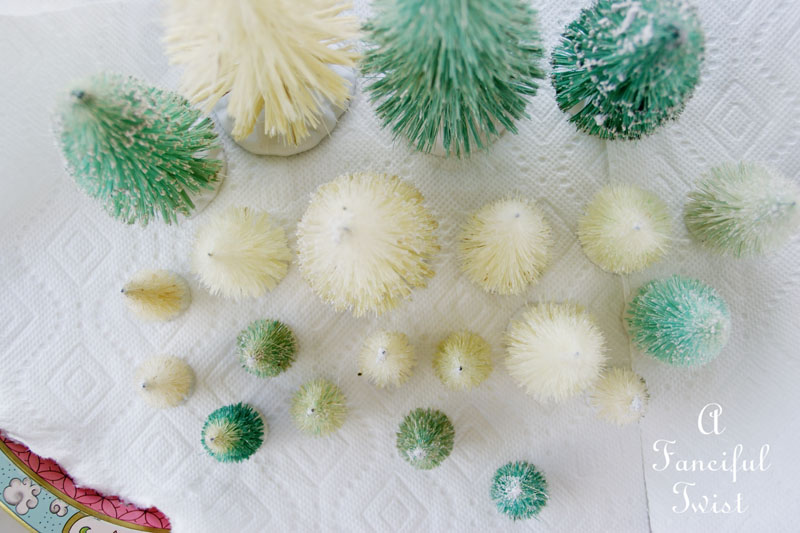
I place them on paper towels to dry.
You can hang them upside down as well.
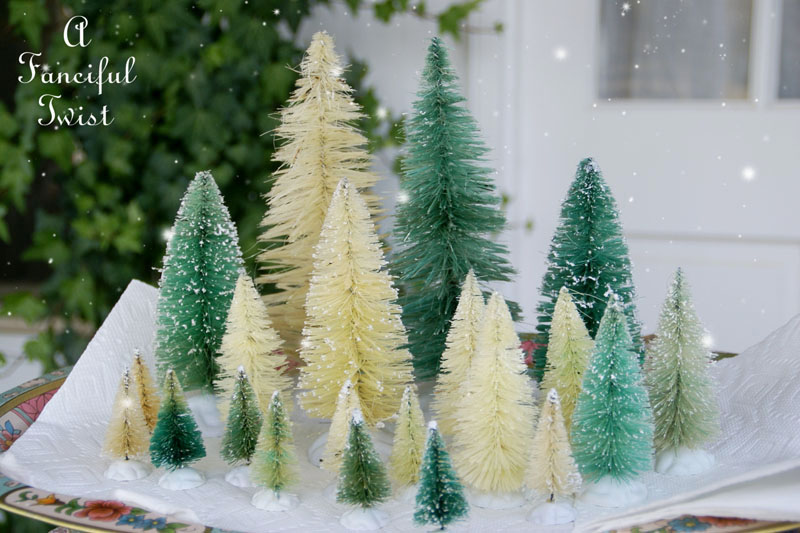
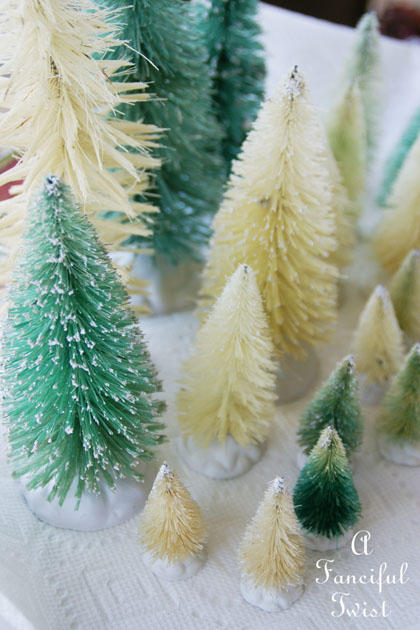
All the green trees below came from using the slow bleach bath.
(more water, less bleach)
The super vanilla ones were from the small, quick bleach bath.
(equal amounts water and bleach)
When you bleach your trees to vanilla stage, you can go a step further.
You can get some clothing dye, make a few different mixtures of colors in buckets, and dye your trees.
It does work, and is fun to do.
I personally prefer these shades.
Although pink is fun too.
These colors are quite vintagey, and make me sooo happy.
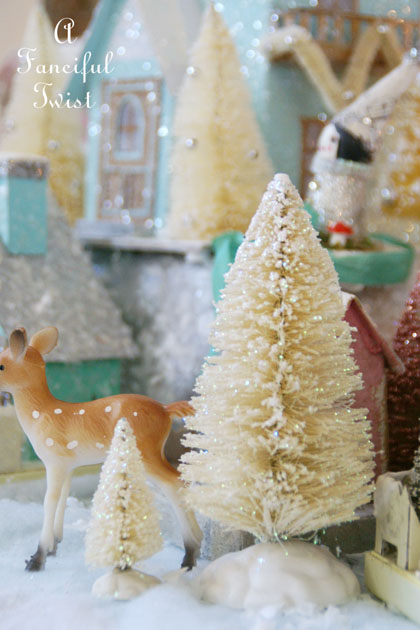
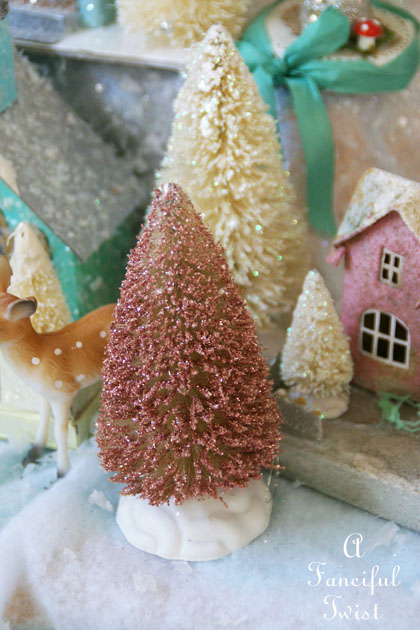
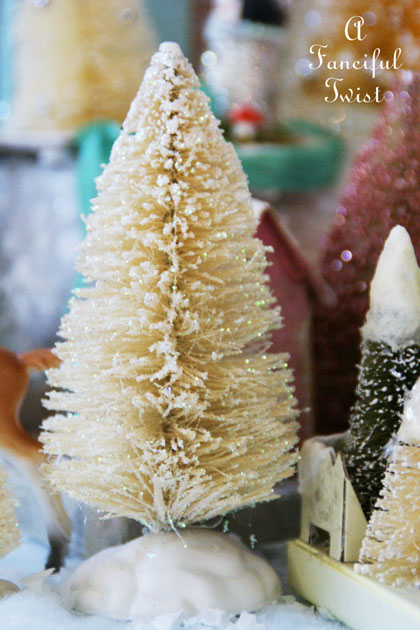
You can go a step further with these bleached trees, and take them to sparkly.
Once your trees are completely dry, just brush some white craft glue over them, and sprinkle them with glitter.
Dry, and that’s it.
Voila!
(pink German glass glitter below)
A little glue and clear iridescent glitter, and you are on your way to…
Vintagey vanilla tree goodness.
Now, wasn’t that easy and fun?
I loooooove watching these change color.
It’s so satisfying in some crazy way.
I am sure many of you make these already.
I can’t wait to glitter up my new batch when they dry.
I need to plunge into holiday crafts now or time will just fly by and I won’t know what happened.
I just looove making these, what about you?
Love, V





Love these, Vanessa. I have to bleach a few more myself. I wanted to do some last year and just never got a round to it so I skipped crafts with bottle brush trees. This year I again want to craft with them and I am going to make sure I get on it! : ) I don’t dye mine, I just bleach them to the vanilla stage. I just started a running list for Michael’s craft store and have to make sure I add some clear glitter to it. Thanks for sharing your techniques!
Kathy, I am the exact same way. Must do it now or never, the hustle and bustle with carry me away 😉 And these little trees add ever so much to Christmas decor <3 I need to make more myself!
I love making these and every year I find myself practically giddy unpacking my sparkly little trees. Now, I need to make a few more to bring to our A-frame cottage.
your a frame cottage sounds like a dreaaaam
boat!!!
I can’t wait to start my decorating.
How lucky I am to have one of your wee bottle brush trees on my shelf that you sent me as a little extra last Christmas. Love the colours described as vanilla and mint. Kind of makes me want to taste them hehe!
Oooo! I like the German Glass Glitter effect, so pretty in the pink glitter. And the mint green is lovely too! Thank you for the tutorial, Miss Vanessa!
I cheated I bought white trees. A couple years ago I found some of those houses and started painting a glittering them to put on painted hat boxes. I have GOT to finish that project this year.
Love the different colors the bleaching gives the trees.
I love these. They will add a faerie feeling to any little house. I must say that they are wonderful.
I love making these – and I love using shimmer sprays on the vanilla ones to gently tint them romantic colors with a hint of sparkle – and then hit ’em with the glitter! LOL
Hi Vanessa, I’m a sucker for dyeing trees but had never heard of the washing machine method. I’ll have to try it. I use the bucket and bleach version. In fact, just finished a sweet ornament with one of my dyed-pink trees! So, very timely.
Thanks for the link — I never have found trees locally with as many as 21 pieces and that price is great. This season is pushing done but dyeing trees is something I like to do in the summer, outside!
How fun Vanessa!… love all of your pretty sparkly trees… I am fortunate to have my vintage bottle brush trees from when I was a little girl in the 50’s… wow… long time ago!… and I have a collection of them I have found at estate sales through the years… for the life of me, I never can understand how families can part with something as sentimental and full of memories as family Christmas decorations… but I bring them all home and they become a part of my family!… congratulations to Susan for winning the beautiful sparkly shoes… I hope they take her on a magical journey that she wished for… oooh, and I loved reading your post about Autumn in your stunning desert… and I LOVE all of your copper pans!… xoxo… Julie Marie
I love the idea of adding glitter. So pretty! xo Jen
AHHH I love this so much!!! I am so going to make them this weekend!!
http://www.miss-siu.blogspot.com